In this post, we will be explaining the integration of Node-RED software with OSCAR. The necessary tools will be given to achieve workflows between OSCAR and Node-RED simply and intuitively through flow-based programming techniques. For this, a series of nodes and subflows have been developed, which will interact with a set of services, previously deployed in an OSCAR cluster.
1. Introduction to working with Node-RED software.
Node-RED is a tool to communicate services in a very convenient way. It greatly simplifies the task of programming on the server side thanks to visual programming.
The minimal structure is the node. Those are dragged through the graphical interface and allow you to do a specific task such as receiving an HTTP call, an MQTT message or the activation of a button. All these nodes are organized in visual flows that group nodes that connect to each other.
Node-RED is built in NodeJS and the D3.js JavaScript library. On the one hand, NodeJS provides server-side JavaScript programming and the ability to efficiently treat multiple concurrent. On the other hand, D3.js powers the web interface. Node-RED is conveniently accessible through a browser to design the workflows.
1.1. Installation of Node-RED.
Node-RED can be installed in several operating systems and devices (see the getting started documentation).
Some prerequisites need to be installed first, such as the NodeJS and npm Node Package Manager. Then, you can install Node-RED as follows:
npm install -g –unsafe-perm node-red
Once Node-RED is installed, it must be executed from the command node-red (Figure 1):
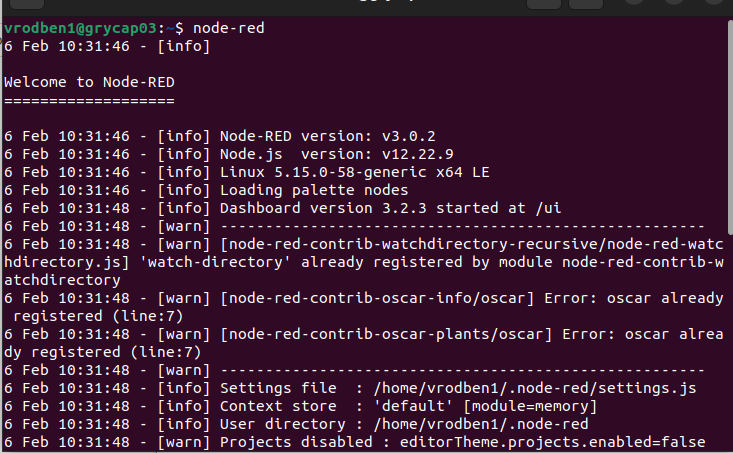
Once executed, it will be available in 127.0.0.1:1880 or localhost:1880. Access via a web browser to show the workspace (Figure 2).

1.2. User creation and security.
The Node-RED installation by default allows access to anyone. Therefore, certain configurations and permissions need to be added to set the different users who may have access (see securing Node-RED for additional information). In particular, it is possible to configure and secure it by editing the configuration file settings.js, whose path is shown while starting Node-Red (in the Settings file section, see Figure 3).
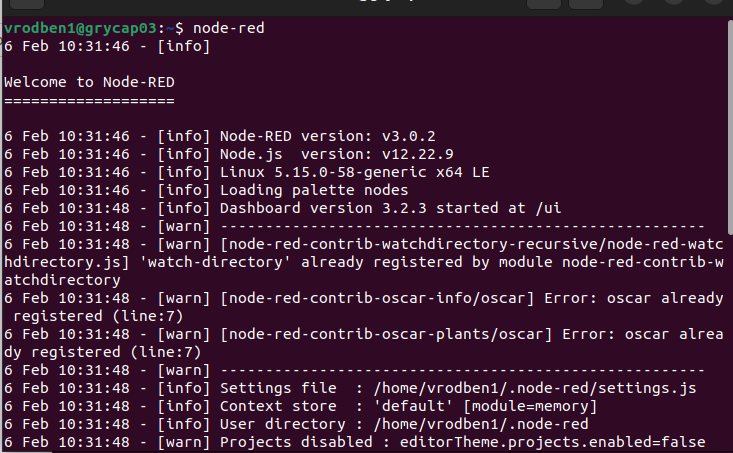
The file comes by default with several commented options, to enable them it is only necessary to remove the comment ("//") and edit the option with the data by default or modified by the user.
To enable authentication based on username and password, you must uncomment the adminAuth property of the configuration file. You can include as many users as you want, it is only necessary to modify the values of username, password and permissions. The password is securely encrypted using the bcrypt algorithm through the command.
sudo node-red admin hash-pw
It will ask for the password to use and then returns the hash that should be copied into the configuration file belonging to a given user. In the case of the permissions that users can have, the “*” means that the user has all the permissions (read and write). If you want the user to have only read permissions, use “read”.
Once this process is done, restart Node-RED again and the following window will appear as shown in Figure 4, where the credentials of each user must be entered to use the platform.
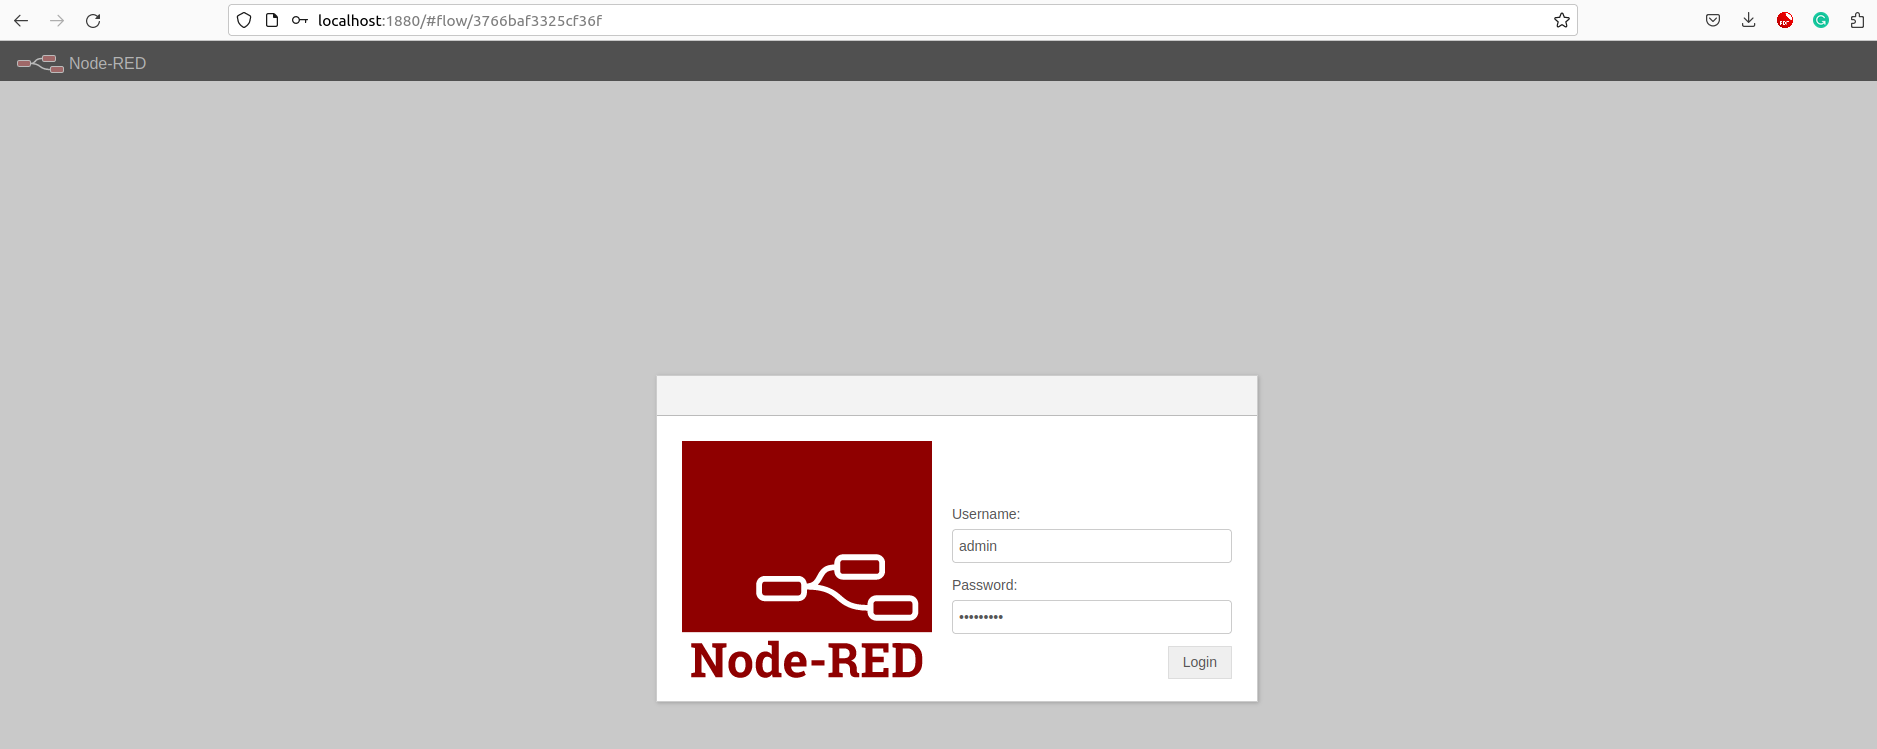
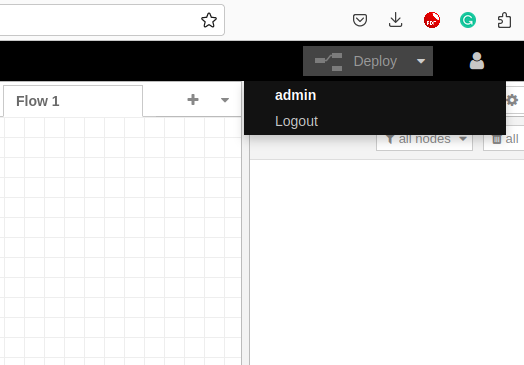
Once the credentials have been entered, you reach the work area and if you go to the upper right you can see the user employed to log into the platform (Figure 5).
1.3 Node-RED work environment.
Node-RED exposes a web-based environment (whose port and access protection are configurable) that allows to remotely launch a fully browser-based graphical stream editor as shown in Figure 6.
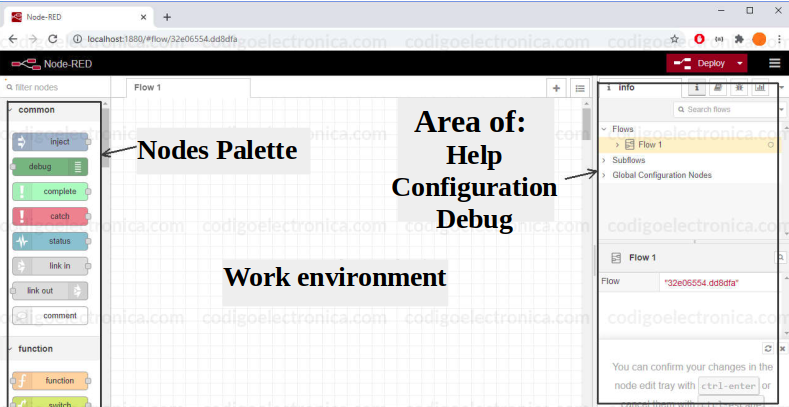
The first is the nodes palette that can normally be found on the left side of the screen and there will contain all the new assets that can be used to create programs through the flow of these nodes. The second part is the work environment where the program is carried out through the nodes. The right part is the section that corresponds to the configuration or drawing help area. This will be enabled depending on the node that is selected from the workflow.
Once inside the browser, new flows can be created by dragging some of the available node types from a side palette in the workspace and connecting them, establishing the data flow and configuring the parameters and attributes of said nodes.
The nodes are connected using link lines (‘wires’) that join their ports (‘ports’). A node can have at most one input port and one or more output ports. These link lines (‘wires’) define the data flow that is established between the different nodes.
If you want to go deeper into these topics, you can see the main concepts and editor.
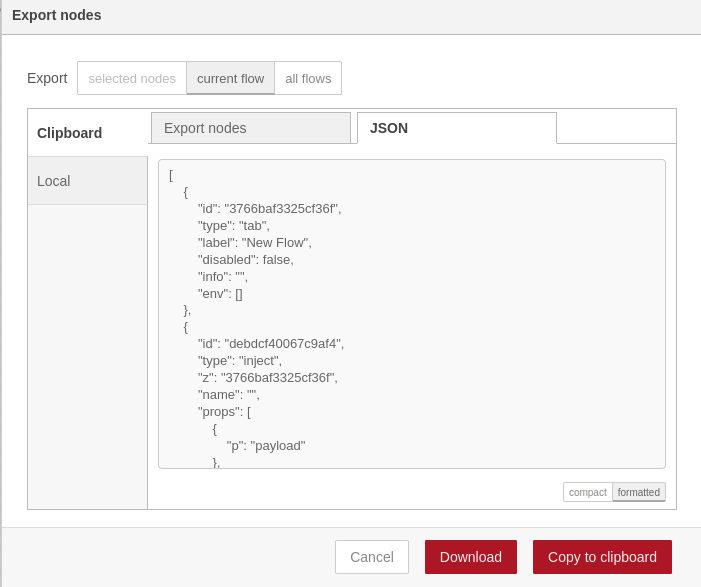
Once a project has been designed, save it to a directory. All the logic resulting from the work done through the editor is stored internally in a JSON file. This allows it to be easily shared by work teams through source and version management repositories, imported into other Node-RED environments, or served as a starter template for creating new flows in separate environments.
Therefore, if you want to save the developed workflow, go to the upper right and a series of elements are displayed. To save the flow, click on Export. For obvious security reasons, the credentials (for example passwords) that are stored in the so-called configuration nodes are not persisted in the file and must be configured again in the environments into which they are imported, thus allowing a clean separation of the credentials that must be configured specifically for each environment (Figure 7).
Once you have all the nodes you must click on the Deploy tab (upper right). This results in the workflow running, where the blue dots above each node disappear and the Deploy tab is no longer red. Any modification of the flow or of the nodes returns the blue dots and the Deploy tab returns to red.
With a simple click on the Deploy dropdown, the flow that has just been created (or modified) is saved and redeployed (along with the other flows that accompany it in the other tabs) in the environment where it is running and the overall workflow resumes (Figure 8).

1.4. Installation of third-party nodes.
When Node-RED is installed few nodes are available while third-party nodes created by the community can be added, available in the catalog of nodes. To incorporate them into our catalog of nodes, a manual installation procedure can be used through commands with npm (see adding nodes) and another through the graphical interface of Node-RED itself. The second way will be shown below.
You can search for nodes using keywords. As an example, the node-red-dashboard node will be installed (Figure 9).
This node allows the visualization and collection of information in a more user-friendly way. Among its functionalities is the ability to create and deploy Control Panels (Dashboards) that can be accessed remotely via browser and whose access can be, as described for the editor, protected with access credentials.
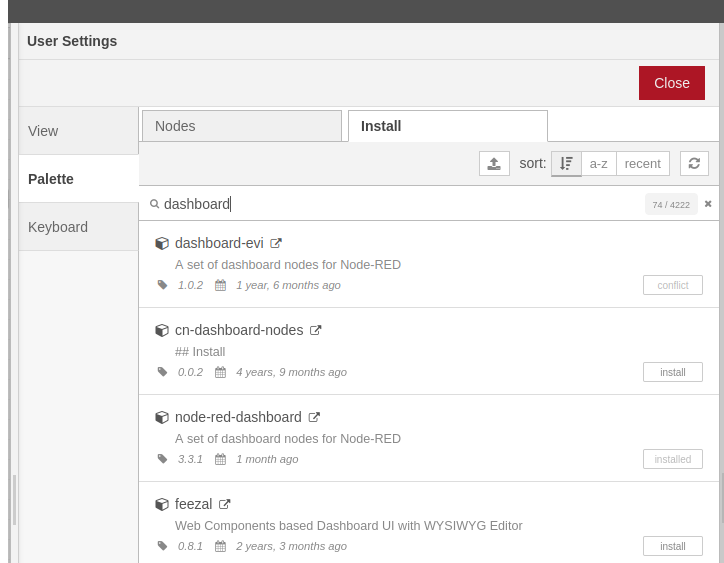
Once a node is installed, it should appear as a new nodegroup in the workspace. If they do not exist, Node-RED must be restarted.
More information about the elements of the dashboard node is available in node-red-dashboard #1 and node-red-dashboard #2.
2. Creation of new nodes for interacting with OSCAR services.
An indefinite number of nodes can be part of a workflow in Node-RED. This can bring over time a disorder of nodes and unions that can make it difficult to find specific parts of the flows. For this reason, it was necessary to develop a series of nodes that interact directly with OSCAR. As flows are created, common parts can be found that are used in multiple flows. Keeping multiple copies of these parts should be avoided, as they become more difficult to maintain. Node-RED provides two ways to create reusable flows: - link nodes. - subflows.
2.1 Creating subflows for OSCAR services.
There are several ways to create a subflow. A subflow is a collection of nodes that collapse to a single node in the workspace. They can be used to reduce the visual complexity of a flow or to bundle a group of nodes together as a reusable flow that is used in multiple places.
Once created, the subflow is added to the palette of available nodes. Individual instances of the subflow can be added to the workspace like any other node. One of the advantages is that they can be closed and will continue to work, as oposed to the flows. There is further information on how to design a subflow.
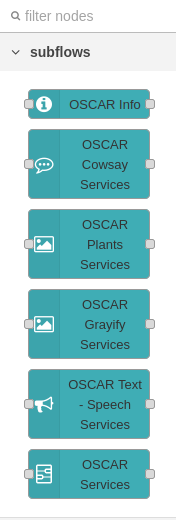
Once the subflows have been created, it appears in the left side window as if they were another work node.
Figure 10 shows an example of a subflow created to obtain information about an installed OSCAR cluster.

For the different services installed in OSCAR, subflows were created (Figure 11) to access each specific service and a generic subflow to access the service that the user deems appropriate.
2.2. Development of new nodes for interaction with OSCAR.
Once the different subflows have been created, they can be exported just like any workflow. Therefore, it is necessary to export them so that the community can interact with them, that is, make them public and that they can be installed by anyone from their own Node-RED but without being able to modify them. This process creates nodes to interact with OSCAR. In the present work, the nodes were created following the methodology developed by Kazuhito Yokoi, which is based on the creation of nodes through subflows and their interaction with GitHub, as shown in the diagram shown in Figure 13.
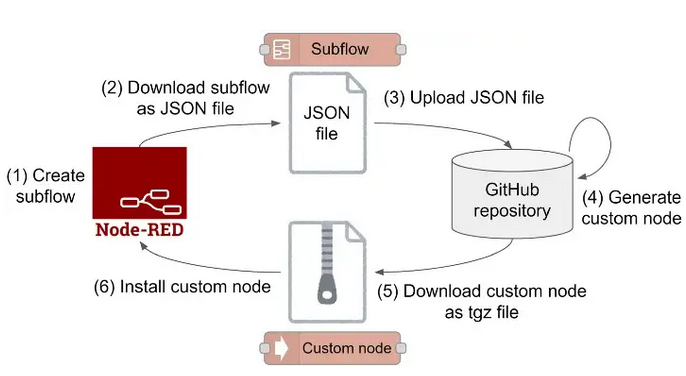
The node development process leaves ready to download a .tgz file that must have the name node-red-contrib-service-version.tgz. Where service would be the name of the service for which the node has been created.
Once you have the .tgz file it can be used as a node by the whole community. To install it, you must go to the option that was explained about importing nodes and load the file as shown in Figure 13.
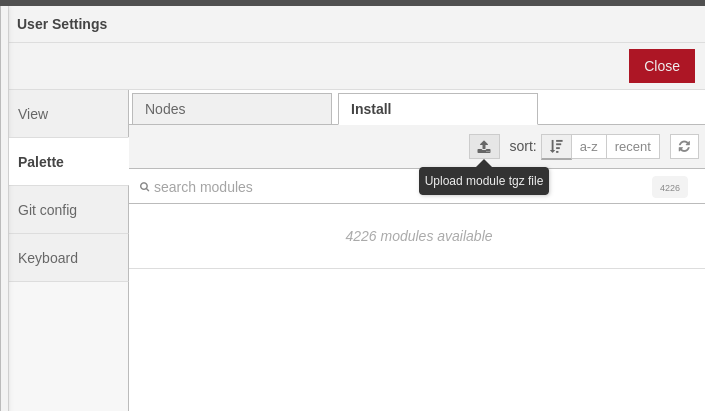
From there, the location of the file is searched for in our directory and click on select. The installation process of the new node will then start and can be checked in the installed nodes or in the side menu of the workspace.
2.3. Examples of Node-RED workflows with OSCAR services.
Once a series of nodes and subflows have been developed in Node-RED, it will be shown how workflows work using the subflows or nodes created to interact with OSCAR services.
2.3.1 Subflow OSCAR Info.
This subflow has the function of obtaining all the information of the created OSCAR cluster. It is structured in such a way that the data entered by the user is read. The request that will be sent to the OSCAR server is created. Once the request is made and the server returns the requested data, the variables related to authentication are deleted (Figure 14).

Once a workflow has been created, said node must be configured. Its configuration process is very simple, as shown in figure 15. When the node is in the work area, the configuration process is carried out by double-clicking on said node and entering the requested data:
- Server
- User
- Password
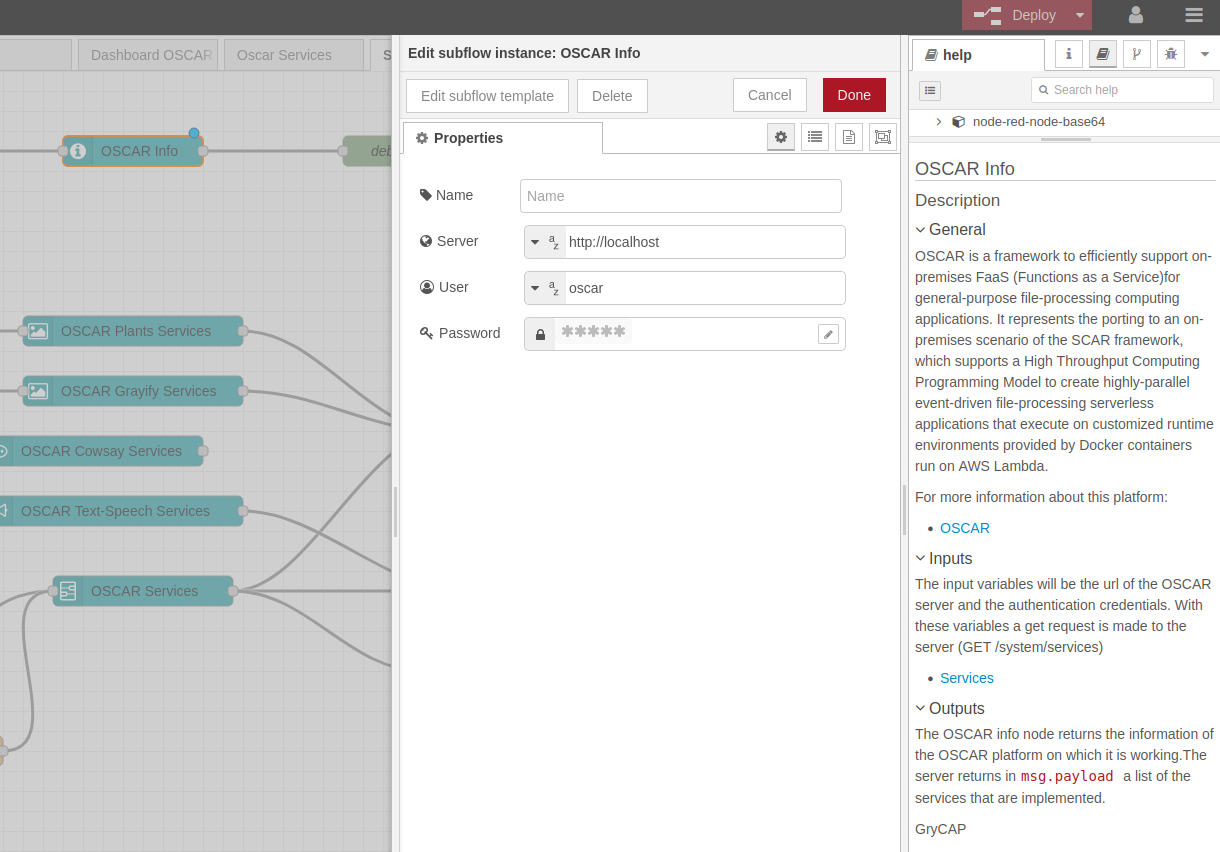
With these elements, a request to the OSCAR API(https://docs.oscar.grycap.net/api/) for a particular OSCAR cluster is issued to obtain its information (Figure 16).

The information that is returned by the server is related to all the services that are implemented in OSCAR. This information can be seen as a debug node is used.
If you want to download the OSCAR Info node files, you can get it from the oscar_nodered repository.
2.3.2 Nodo OSCAR Cowsay Services.
This node runs the OSCAR cowsay service. The process that is carried out is similar for all the subflows or nodes that interact with OSCAR services. First, the token is taken from a GET request. Once we have the token, a POST request is made to the service. This interaction can be seen in OSCAR API.

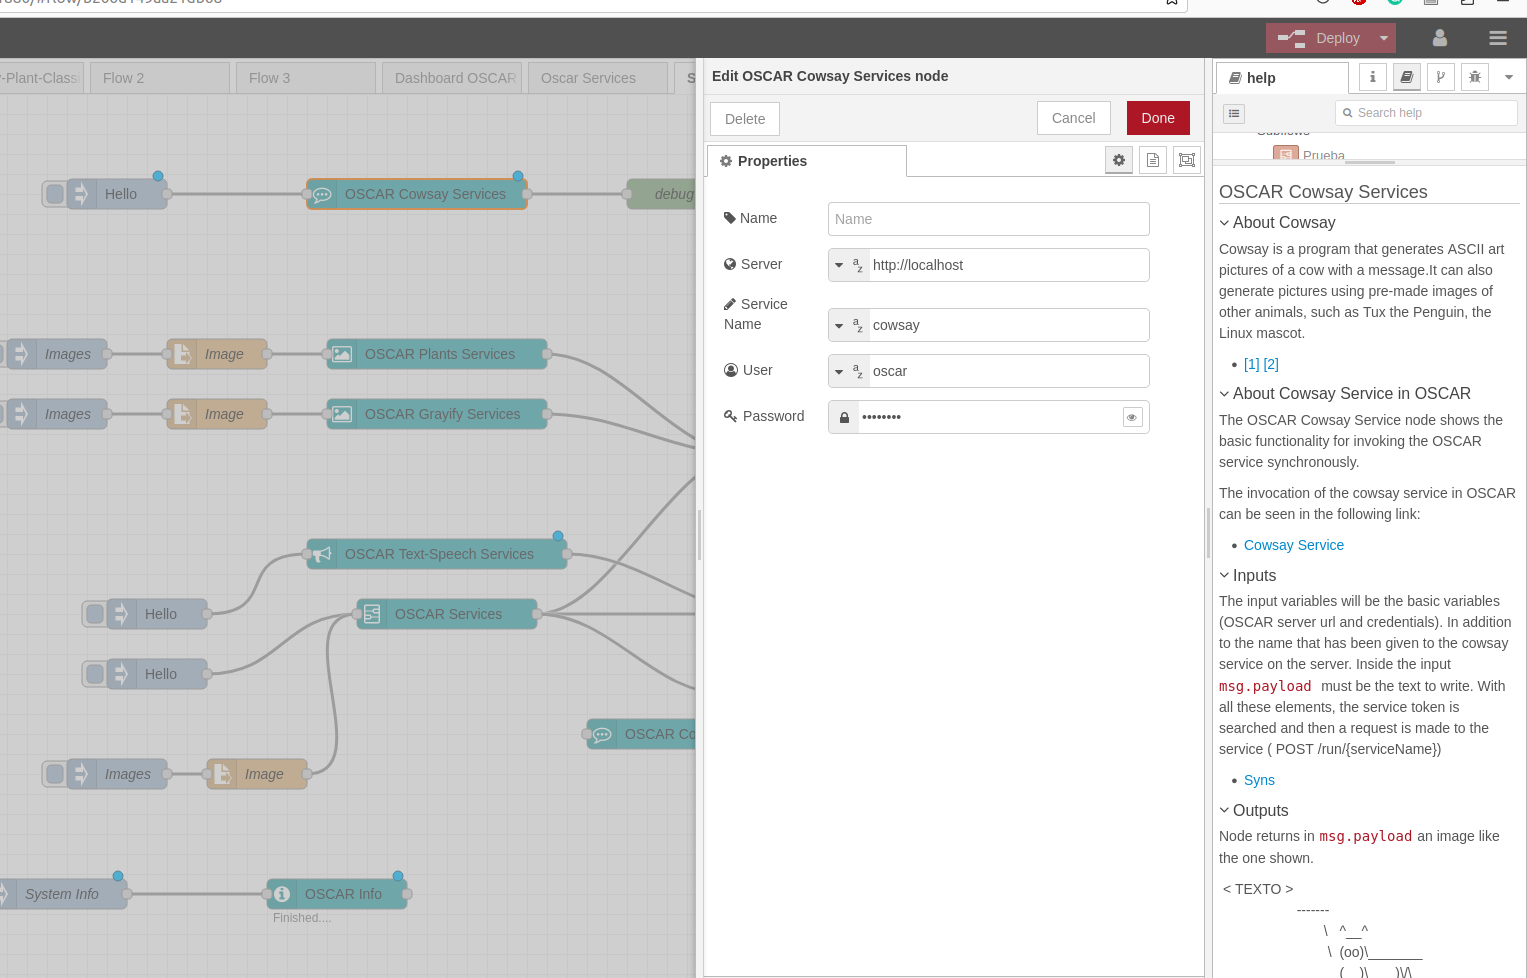
Once you have the node or subflow (Figure 17) in the work area, proceed to configure it. A section is added to the nodes that interact with services, which is the name of the service (Figure 18), since in the installation process of the service in OSCAR it can be given a different name. By default and in this case you have the same name, cowsay.
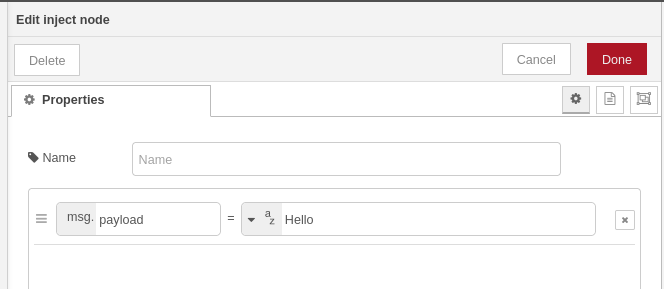
Another important element to take into account is the type of message that is going to be sent to be processed by the Cowsay service in OSCAR, for this an inject node is used, sending a string type msg.payload with the text to be processed ( Figure 19).
When the flow is deployed, the result shown in figure 20 is obtained. Remember that the service invocation result comes in msg.payload in case you want to use it in some other process.

If you want to download the OSCAR Cowsay Services node files and sample workflow, you can get it from the oscar_nodered repository.
2.3.3 OSCAR Grayify Services and OSCAR Plants Services node.
Here we will be using the Plants Classification AI Model from the DEEP Open Catalog, and a simple operation to transform images to grayscale.
These two nodes in terms of operation are quite similar, which is why they will be explained in the same section (Figure 21 and Figure 22). Here the process of invoking the service by the node or subflow is the same as that explained in the previous section, so the image to be processed must be sent in base64 format and the response returned by the services are the same images in base64 format. There is a little difference in the response of giving the base64 image of each service but that is resolved by processing the response differently.


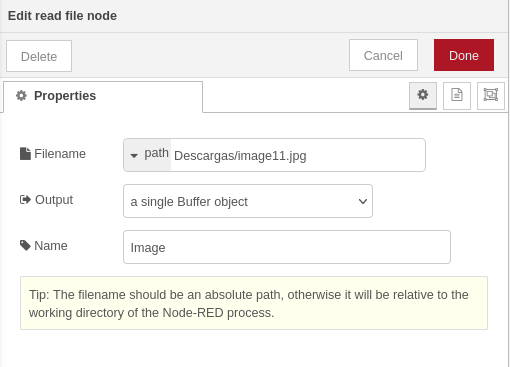
The configuration process is the same as in all the nodes, only put in the service name section the name that was given to each of the services in OSCAR. The workflow is done by calling the two services at the same time with the same image to which two different services will be applied. To load the image, the read file node is used, which is given the address of the image to be processed, as shown in Figure 23.
Once everything is configured, execute both services on the OSCAR cluster (Figure 24). To achieve a better visualization of the information, the image preview node is used, although the responses from the services always come in msg.payload.

If you want to download the OSCAR Grayify Services and OSCAR Plants Services node files and sample workflow, you can get it from the oscar_nodered repository.
2.3.4 OSCAR Text-Speech Services node.
This node runs the text-to-speech-google service, which is passed a text as a parameter and it returns the corresponding audio with the text passed as a parameter. The process is the same as the service invocation is the same as all the previous ones, except that the audio output format is in base64 format (Figure 25).

The service is passed a text as an input parameter, in the same way as in the OSCAR Cowsay Services node. The node configuration is the same as the previous nodes. To hear the audio, the audio out node is used, which is found in the list of Dashboard nodes (Figure 26).

If you want to download the OSCAR Text-Speech Services node files and sample workflow, you can get it from the oscar_nodered repository.
2.3.5 OSCAR Services node.
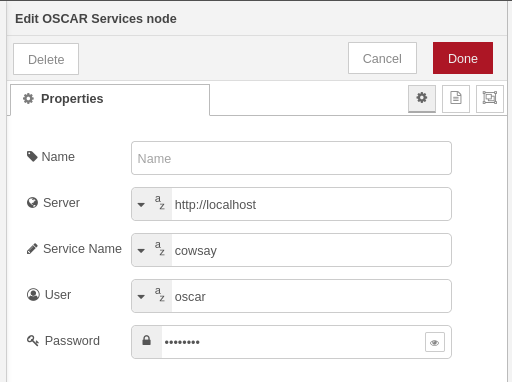
This node has the function of integrating all the services that were previously described. The node is configured in such a way that it will invoke the service that is passed to it as a parameter in the service name section (Figure 27).
Regarding the operation of the node, it only has the difference that distinguishes the service that is to be executed and from that it carries out the corresponding process (Figure 28).

The flow shown in Figure 29 can execute any of the services implemented in the OSCAR cluster, you just have to change the service you want to invoke.

If you want to download the OSCAR Services node files and sample workflow, you can get it from the oscar_nodered repository.
In a future blog, there will be an explanation of the creation of workflows for the interaction of Node-RED and OSCAR using dashboards to create web interfaces for easy interaction with users.
OSCAR-Node-RED is developed by the GRyCAP research group at the Universitat Politècnica de València.
